Simple orb
Create a great looking glass orb using the airbrush tool...
1
That orb you have seen on that site, you know the one. Anyway, here is how to create it.
Make a new image say 500px x 500px and fill it with a mid gray like mine.
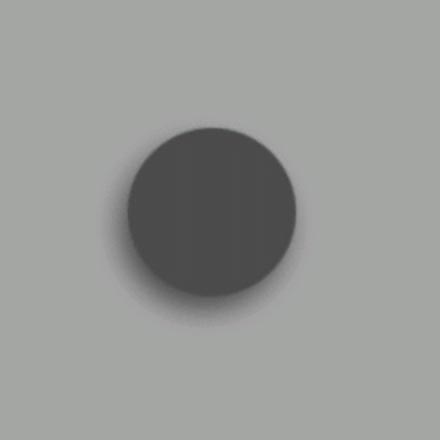
Now use the Circular marquee to draw a circle and fill it in with a much darker gray (#4B4B4B)
now go to Filter>Blur>Gaussian Blur it with a setting of about 1.0.
Now go to Layer>Layer Styles>Drop shadow and add a nice shadow like opposite.
2

OK now HOLD CTRL and click on the circle layer to select the circle, now go to Select>Modify>Contract and enter 1, click OK.
Now create a new layer. Fill the selection in with white.
Now what your going to do it use the airbrush at a size of about 65 (occasionally 100) and slowly a dark top like shown opposite, you can use the smudge tool to create a few smudges so that its not to perfect, now this may not look good right away and may take a few tries
You should end up with something similar to what I have opposite. When you do press CTRL + D to deselect.
3
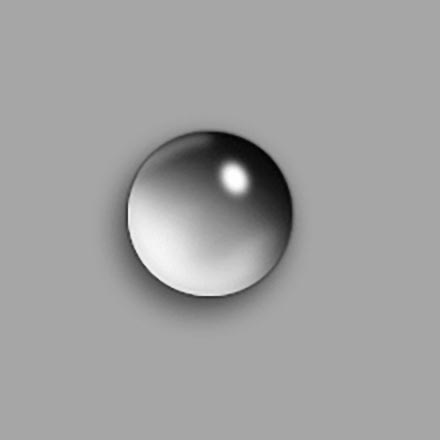
Now all you have to do is create the glint... this is easy and done with an airbrush (again)
OK create a new layer and select the airbrush... select any brush and then click it to change its options
match all the settings up to: Diameter 19, Hardness 36, Spacing 25, Angle 118. Roundess 75.
Now paint a small "blob" in the top right corner, do it until you're happy with how it looks.
Hopefully you will now have something similar to the one opposite.
That's it your done, hope it worked out =)
This tutorial was brought to you by Robouk, please post any questions in the forum. Thank you.