Plastic buttons
Create smooth clear plastic buttons...
1
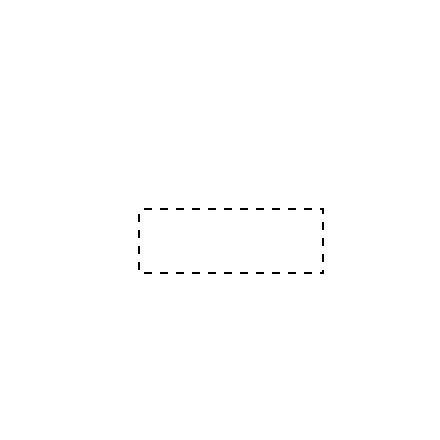
OK, start with a new image about 400x400 px with a white background. Start by creating a new layer and using the Rectangular Marquee draw a rectangle roughly the size of the picture opposite.
OK now click the channels tab and create a new channel. Fill the selection in with white. You can now deselect (CTRL +D) Now go to Filter>Blur>Gaussian Blur and use a setting of about 3.5 Click OK. Next go to Image>Adjust>Levels and drag the two bottom triangles towards the center until the button looks nice and smooth (see image). Click OK when done. OK hold CTRL and click on the channel "Alpha 1" to select it. Click the Layers Tab. Do not lose the selection.
OK now click the channels tab and create a new channel. Fill the selection in with white. You can now deselect (CTRL +D) Now go to Filter>Blur>Gaussian Blur and use a setting of about 3.5 Click OK. Next go to Image>Adjust>Levels and drag the two bottom triangles towards the center until the button looks nice and smooth (see image). Click OK when done. OK hold CTRL and click on the channel "Alpha 1" to select it. Click the Layers Tab. Do not lose the selection.
2
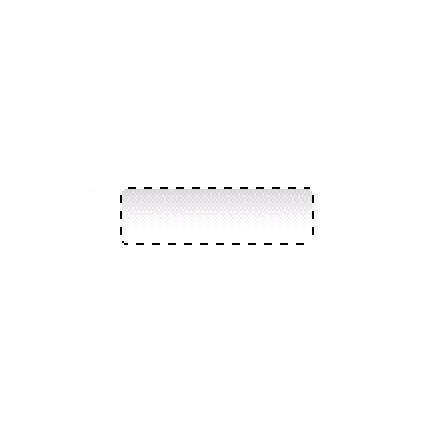
Now set your foreground color to: R:212 G:214 B:212 and the background to white, using the linear Gradient tool (foreground to background) drag from top of the selection to the bottom so it looks like what I have opposite. Now create a new layer and Set your foreground color to R:192 G:192 B:192 and go to Edit>Stoke for width choose 1 pixel and for location choose Center. Do not deselect yet.
3
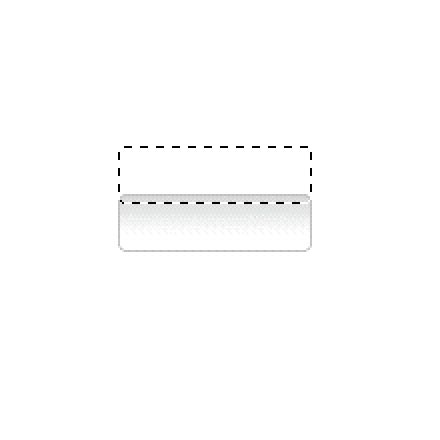
Now, with the rectangular marquee selected move the selection up to the top of the button so that it overlaps slightly (see picture) Now Create a new layer and fill that selection in with white.
Now click on the channels palette and Hold CTRL and click on "alpha 1" to load the selection. Click the layers tab and now go to Select>Inverse. Hit delete. press CTRL +D to deselect. Now go to Filter>Blur>Guassian Blur and use a setting of 0.3 Click OK and set the opacity of that layer down to about 74, or so it looks good.
Now click on the channels palette and Hold CTRL and click on "alpha 1" to load the selection. Click the layers tab and now go to Select>Inverse. Hit delete. press CTRL +D to deselect. Now go to Filter>Blur>Guassian Blur and use a setting of 0.3 Click OK and set the opacity of that layer down to about 74, or so it looks good.
4

Now it should be looking good, but to add to the effect add a drop shadow to the layer with the original button shape on it (in my case Layer 1) go to Layer>Effects>Inner shadow and use the settings shown opposite. That's it, you should have a nice plastic tab ready to add some text to.
5
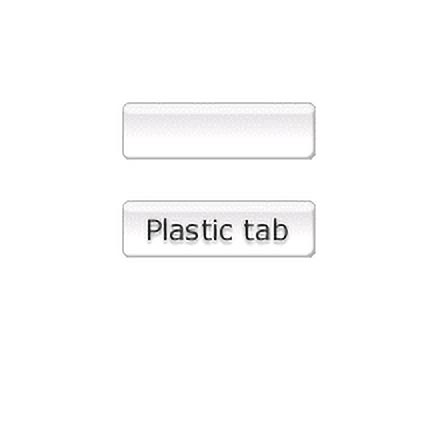
So add some text to the buttons, you can also add a very faint drop shadow to the text for a nice effect. To change the color go to Image>Adjust>Hue/Saturation. If yours didn't work just download the .psd file.
6
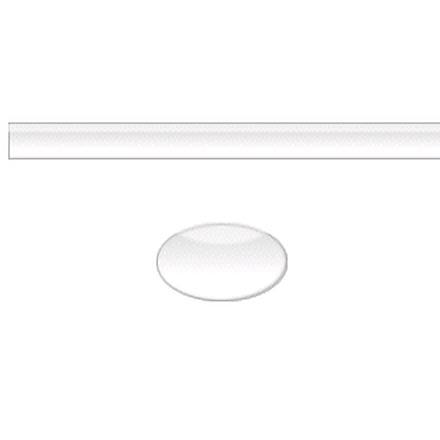
Apply the same tutorial to other shapes, you'll get some neat effects.
This tutorial was brought to you by Robouk, please post any questions in the forum. Thank you.