Pixel Bevels
Learn how to create those 1 px bevels without using layer effects...
1

OK make a new image the size of your choice, now, make the shape you would like to apply the beval effect to, im just using a simple rounded edge rectangle. You can fill it with whatever color you wish but I think orange and blue seem to work best, its up to you though.
2

OK HOLD CTRL and click on the layer with your shape on it to select it, now making sure you have the rectangular marquee active on the tools palette, on your keyboard press UP once and LEFT once to offset the selection. Now create a new layer and fill the selection in with white. HOLD CTRL and click on "layer 1" again to select it. With"layer 2" still active HIT DELETE. Now deselect (CTRL +D) now holding CTRL move the highlight of layer to down 2 pixels and right 2 pixels so it look like the image opposite.
3

Now set layer 2 to blend mode "color dodge" and lower the opacity down to about 30. You now have the highlight done.
Now hold CTRL and click on "layer 1" to select it. With the rectangle marquee selected in the tools palette press down once and right once, to offset the selection again. Create a new layer and fill the selection in with black. Now hold CTRL again and click on your original layer with the main shape on it. With "layer 4" active hit delete. Deselect (CTRL + D) now move it back up 1 pixel and left 1 pixel .It should like like the image opposite.
Now hold CTRL and click on "layer 1" to select it. With the rectangle marquee selected in the tools palette press down once and right once, to offset the selection again. Create a new layer and fill the selection in with black. Now hold CTRL again and click on your original layer with the main shape on it. With "layer 4" active hit delete. Deselect (CTRL + D) now move it back up 1 pixel and left 1 pixel .It should like like the image opposite.
4
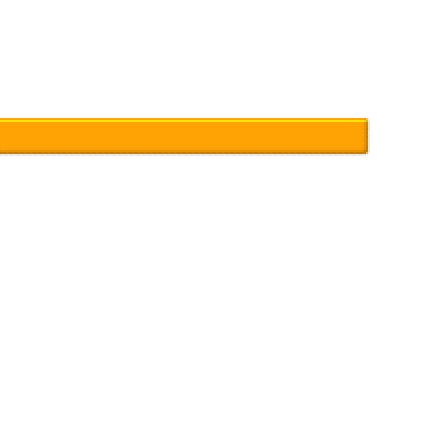
Now with "layer 4" (the layer with the shadow on it) active, go to Filter>Blur>Guassian Blur and use a setting of about 0.7 or until it looks cool. Click OK. Now just lower the opacity of that layer down to about 40. We are almost done, just one more step.
5

Now go to Edit>Stroke and use the default settings, but make sure width is set to 1 pixel. Click OK. Now just lower the active layers opacity down to about 40 and you are done, it should like something like the image to the left.
6
But don't stop there, use different shapes and colors and see what you can make, this effect is cool for clean looking designs, its something I use a lot
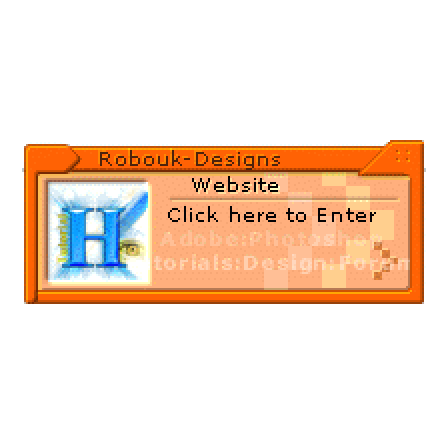
Opposite is a signature I made using this effect. See what you can come up with, Enjoy.
Opposite is a signature I made using this effect. See what you can come up with, Enjoy.
This tutorial was brought to you by Robouk, please post any questions in the forum. Thank you.