Micro buttons
These tiny micro buttons make great "submit" buttons or nice nav buttons...
1

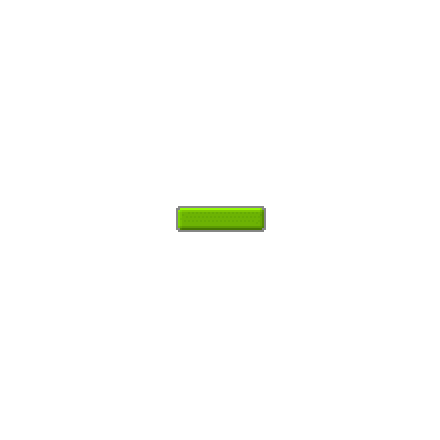
Create a new image 400x400 px with a white background. Create a new layer. Using the the rectangular marquee tool, make a small micro size rectangle as close to mine as you can. Now fill it with the colour of your choice. I'm using green: R:106 G:176 B:5 But just choose a nice colour. Now Deselect by pressing CTRL + D.
2

Now you need to to go to Layer>Effects>Bevel and Emboss. Simply match your settings to: Highlight mode Colour Dodge, Opacity 65, Shadow Mode Multiply, Opacity 28, Style Inner bevel, Angle 120, Depth 1, Blur 1.
You should have something similar to what I have opposite.
You should have something similar to what I have opposite.
3
Now Hold CTRL and click on Layer 1 to select it. Create a new layer. Now go to Select>Modify>Smooth and enter a setting of 1. Now Set your foreground colour to a mid gray, I have used: R132 G:132 B:132..
Once you have done that go to Edit>Stroke. For Width: enter 1, Dot outside. And leave all other settings to default. Click OK and you should be left with something similar to what I have.
Once you have done that go to Edit>Stroke. For Width: enter 1, Dot outside. And leave all other settings to default. Click OK and you should be left with something similar to what I have.
4
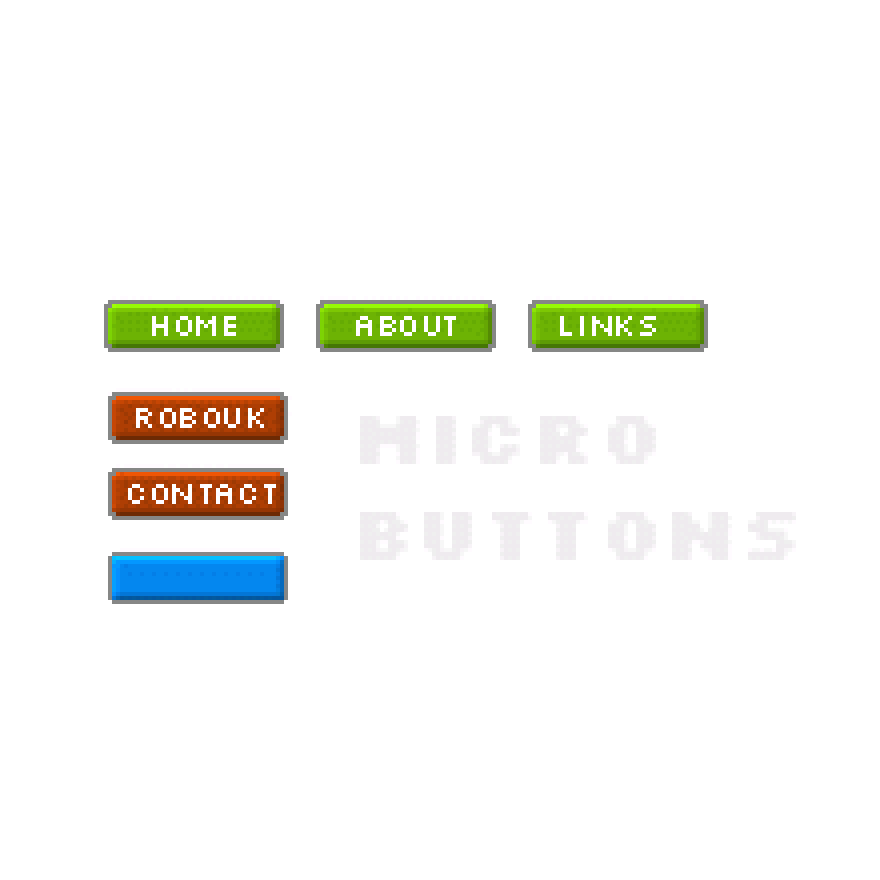
That's basically it but you might be thinking, How am I going to fit my text on that? Well You can use pixel fonts. The font I'm using is sevenet.
To change the colour of your button, click layer one and go to Image>Adjust>Hue/Saturation and dot colorize.
Try out some different variances and see what you make!
To change the colour of your button, click layer one and go to Image>Adjust>Hue/Saturation and dot colorize.
Try out some different variances and see what you make!
This tutorial was brought to you by Robouk, please post any questions in the forum. Thank you.