Metal type
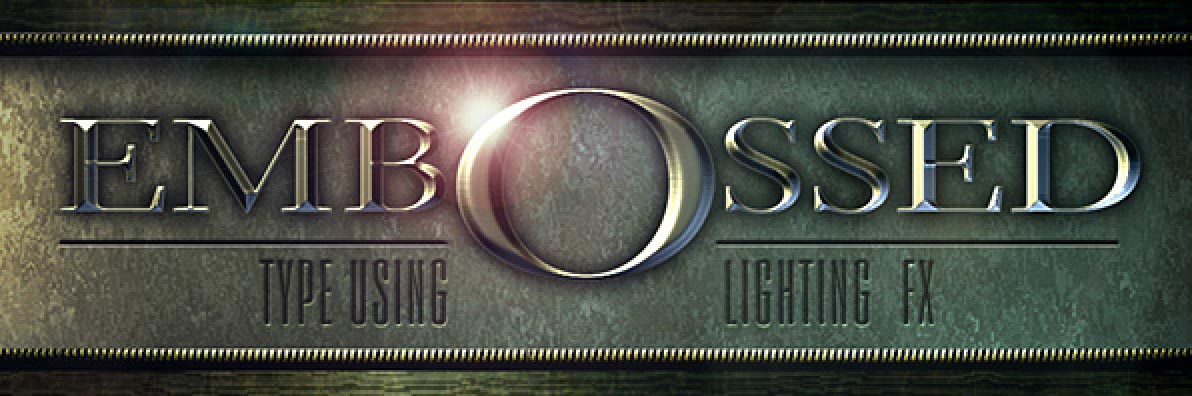
Create some chiseled metal text using the lighting effects...
This an advanced tutorial - and as is the case with some of the others, I've had to leave out some of the more basic stuff. It will require some knowledge to get it to work. If you're having problems with this, there are plenty of other tutorials out there, which will help you.
Emboss effects can get overused, but this explains what is actually the best method, and a more controllable approach than relying on external filters. You can use obviously use layer effects to create bevel effects and there are some good filters (KPT5 shapeshifter is probably the best)
However a little time learning the Lighting Effects can give a better result than layer effects and most of the other filters. It's extremely versatile and in the example I've used the filter in two ways. I'm just going to describe how the image above is done concentrating on the metallic bevel effect itself, and not on the background elements so much.
1
The simplest way to use Lighting effects is to easily create smooth gradations of tone on flat surfaces.
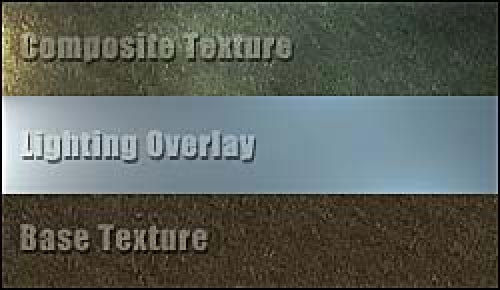
There are many ways to get similar textures - If you start with a clouds layer and use a combination of the Brush Stroke and the Artistic filters you can easily come up with a version of what I have here. You just want a neutral low contrast surface for your shape to sit on.
I then made a new neutral gray layer and ran the Lighting effects filter using some white and blue lights to create some natural flat tones. In the picture left "Lighting Overlay" you can see what this looks like on its own. The layer mode is then changed to Overlay and it is duplicated once (Command/control J). Use Levels on the Overlay layer to increase the contrast a little and you will have something similar to the composite texture at the top. You can then merge the three layers together (Command/control E).
2
The first thing is to create the type. Use 50% grey as the colour of your type. Try to set the type properly and make sure the kerning (the letter spacing) is OK- use the alt key while using the left right arrows . People used to be employed as typographers to do this - hours they would spend scratching their chins and drinking coffee, judging the distance between letters. They are all out of work now.
When you are happy with it rasterize the type layer. Layer/Rasterize/Type.
When you are happy with it rasterize the type layer. Layer/Rasterize/Type.
3
Lighting effects can also be made to work on a 3D-texture channel. This channel helps the filter determine how high an area is. White is high, black is low. To be different from the other tutorials out there, I wanted a sharp edged chiseled shape. I am going to use an ACTION to progressively shrink the shape and create our texture.
Now make a new alpha channel and fill it with black. Control click the text in the layers palette to load its selection. Now we will use THIS ACTION. Download the action by right clicking (PC) or control clicking (Mac). Now use F12 to launch the action, or press the play button in the actions palette.
When the dialog comes up enter the fill opacity value that is already set at 5%. Run the action again (use F12) this time change the value to 10%. Do this again increasing by a value of 5 each time (15,20,25,30 and so on) until you get the "no pixels selected" message.
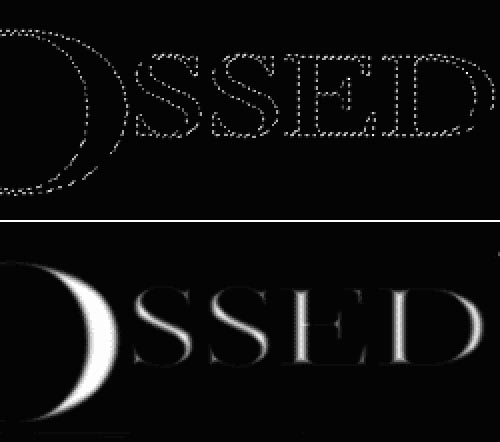
It's a very simple action, all it is doing is filling with white at the opacity specified, and contracting the selection by 1 pixel each time. I could have made an action to create the whole texture, but thought it was important for you to understand the process.
When you are finished you should be left with an alpha channel that looks like the image bottom left. This is a more difficult method than building a smooth channel with the Gaussian blur method, but in this case we need some sharper edges.
Now make a new alpha channel and fill it with black. Control click the text in the layers palette to load its selection. Now we will use THIS ACTION. Download the action by right clicking (PC) or control clicking (Mac). Now use F12 to launch the action, or press the play button in the actions palette.
When the dialog comes up enter the fill opacity value that is already set at 5%. Run the action again (use F12) this time change the value to 10%. Do this again increasing by a value of 5 each time (15,20,25,30 and so on) until you get the "no pixels selected" message.
It's a very simple action, all it is doing is filling with white at the opacity specified, and contracting the selection by 1 pixel each time. I could have made an action to create the whole texture, but thought it was important for you to understand the process.
When you are finished you should be left with an alpha channel that looks like the image bottom left. This is a more difficult method than building a smooth channel with the Gaussian blur method, but in this case we need some sharper edges.
4
OK the next step is to run Lighting effects on our texture. Select the gray text layer again, and go to Filter/Render/Lighting Effects.
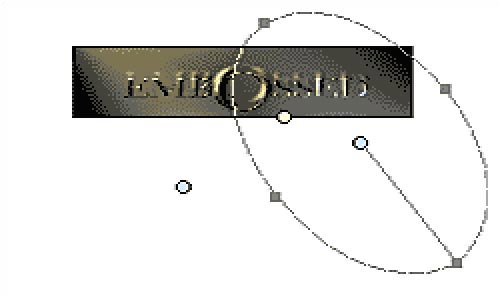
Welcome to the Lighting Effects dialog box. Because the preview is so small it's usually necessary to undo, and run the filter a few times to get what you need. Choose your alpha channel, which you made in step 3 as the texture.
Left is a screenshot of the settings used for the image above. Three spotlights; one slightly yellow coloured light from above, and two blue lights coming from underneath to highlight the shape. These colours are used to simulate metallic reflections.
My settings were as follows, Shiny 93, Metallic 93 - this effects how much the colour of the lights influences the gray. I've changed the Ambiance setting to -15 and moved the exposure up to 58. This increases the shininess. I've also kept the depth of the bevel quite low with a setting of 30. You can save this lighting style in case you need to use it again.
Please experiment with these settings. Remember, you may be able to improve on them. Once you have your rendered shape, you may want to open up Curves (command/control M) and alter the contrast to "polish" the shape a little. It's much easier to do it here than within Lighting effects.
5
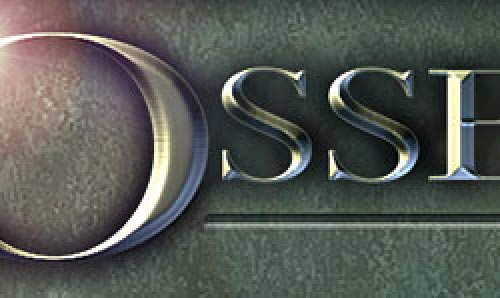
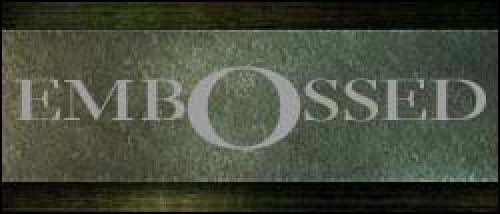
On the new embossed layer I've used a black Outer Glow layer effect, set to Hard Light to make the letters sit back into the background. What we are looking for here is a graphic treatment rather than just realism.
6
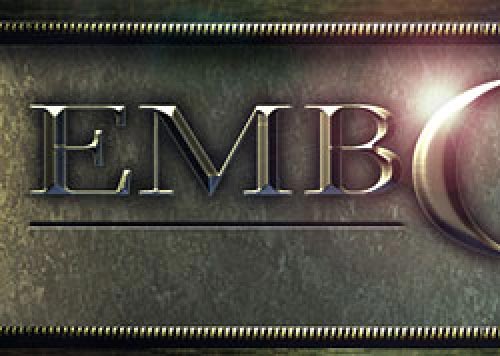
The border was created with Lighting Effects again. Another ribbed texture channel was made for this. Similar colours, and a consistent light treatment were used, loading the same lighting style used above and altering it slightly.
The Lighting Effects filter can be used whenever you need to make relief patterns, or textured shapes. An old but good web tutorial (which I learned from) which takes this one step further adding texture to an object can be found at Doc Ozone.
The Lighting Effects filter can be used whenever you need to make relief patterns, or textured shapes. An old but good web tutorial (which I learned from) which takes this one step further adding texture to an object can be found at Doc Ozone.
This tutorial was by [email protected], brought to you by Robouk, please post any questions in the forum. Thank you.