LCD orbs
How I make my LCD orbs for my interfaces and Skins. Smoooth...
1
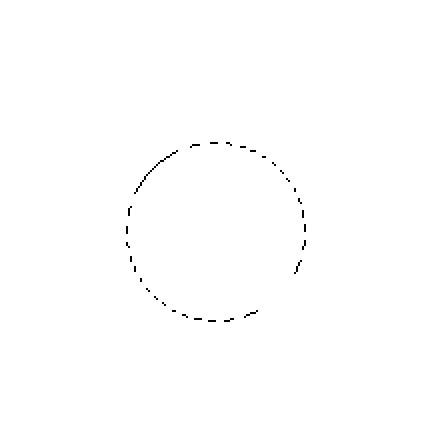
I'm going to explain how *I* create the LCD orbs I often use on ifaces/skins. Again, this is the way I like to do it.
Make a new image 500x500px and white background. Now, create a new layer .
Next select the Elliptical marquee.
Now Hold SHIFT and ALT on the keyboard and draw your circle, roughly the same size as mine.
Now fill the selection in with your chosen colour.
Make a new image 500x500px and white background. Now, create a new layer .
Next select the Elliptical marquee.
Now Hold SHIFT and ALT on the keyboard and draw your circle, roughly the same size as mine.
Now fill the selection in with your chosen colour.
2
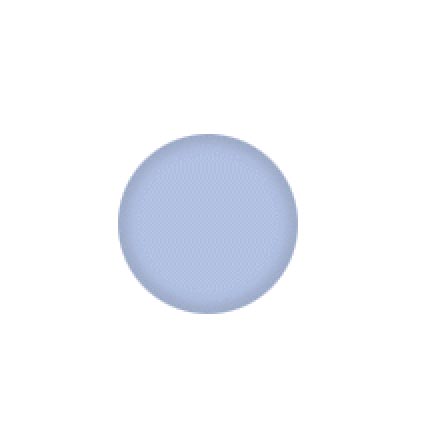
Now without deselecting, create a new layer.
Press X, then D on the keyboard to reset the colours. Now go to Edit>Stroke for the settings choose 4 and colour black. Click OK.
Now, with that layer selected, go to filter>Blur>Gaussian Blur and enter a setting of 4. Click OK. Next HOLD CTRL and click on "Layer 1" to load the selection. Now click on "layer 2" and go to Select>Inverse hit delete (make sure layer 2 is selected). Lower the opacity of that layer to 28%.
It should look something like what I have opposite.
3
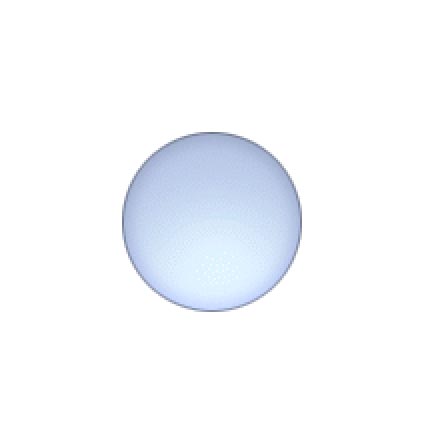
HOLD CTRL and click on "Layer 1" to load the circle selection, now press X, then D. Again create a new layer on top of the other 2. Go to Edit>Stroke and enter a setting of 1. Now lower the opacity of this layer to 32%.
Create a new layer on top of all the others, Hold CTRL and click on "Layer 1" just to load the selection, now use the Paintbrush tool: and in the option select the airbrush icon.
Set the layer blending mode of this layer to colour dodge and lower the "FILL" (located under the opacity) to around 21%. Now using to soft brushes size 200px and 100px paint a bright area around the bottom half of the Circle as shown in my picture opposite. Looking smooth eh? yum.
4
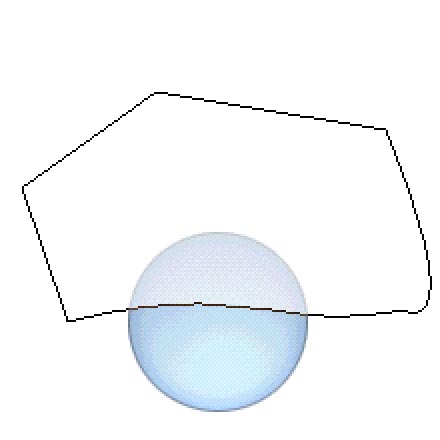
No, here's how I like to create the highlight to my orbs.
Create a new layer, now use the pen tool: to draw a rough section in the top half of your circle, to get mine curved I simply used the "Add anchor point" pen tool and slightly bent my path.
Now with the pen tool still selected, right click in the path and choose "Make Selection..." you can now delete or hide the layer with the path on it.
5
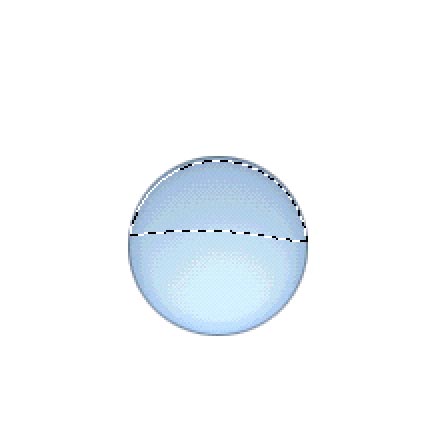
Now for the tricky part.
Create a new layer (don't loose your selection) now hold SHIFT + CTRL + ALT altogether and click on "Layer 1" (the original circle layer. You will end up with a selection like mine opposite (hopefully) yes? phew!
Now use the gradient tool, and choose "Foreground to Transparent" now press D, then X to reset the colours. Now, make a gradient in your selection starting from the top and dragging to the bottom of the selection. You will end up with a nice highlight, press CTRL+D to deselect. You may now want to go to Filter>Blur>Gaussian Blur and enter about 2.0 (optional) also, you might want to move this layer down a few pixels just to make it more realistic.
6
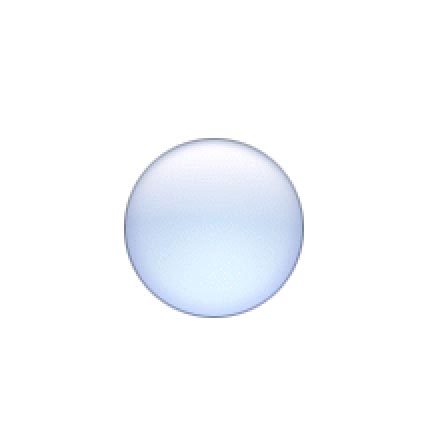
It should look something like mine opposite.
Your done! but you can go further! I like to sometimes add scan lines inside mine, this just enhances it, you may also want to make it inset into an iface and you are done.
Your done! but you can go further! I like to sometimes add scan lines inside mine, this just enhances it, you may also want to make it inset into an iface and you are done.
7
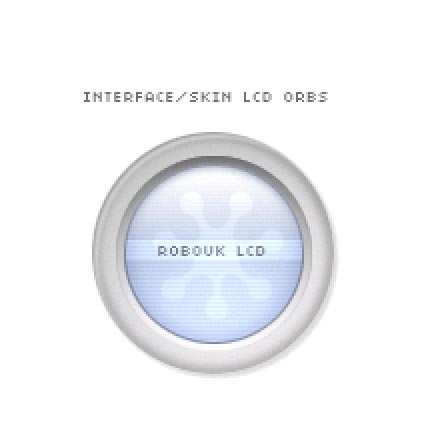
Here's what I came up with, see what you can do and be sure to show us all in the Community Forum.
Hope you enjoyed it, I have decided to make the PSD available for this tutorial so if yours didn't work out, you may learn something from the PSD. =)
Hope you enjoyed it, I have decided to make the PSD available for this tutorial so if yours didn't work out, you may learn something from the PSD. =)
This tutorial was brought to you by Robouk, please post any questions in the forum. Thank you.