Interface Shapes
Learn the basics of creating interface shapes with basic channels...
1

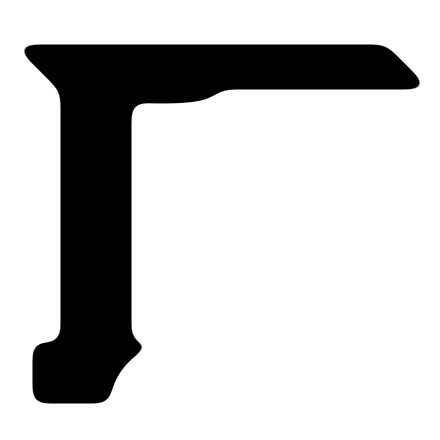
Create a new image 600x600 px with a white background. Create a new layer. Using the elliptical marquee, the rectangle marquee and the polygon lasso start to draw some shapes on your new layer and fill them in black. Each time you create a new shape you can create a new layer and once you have finished and are happy with your shape turn the background layer off and then go to Layer>Merge Visible. HOLD CTRL and click on the new layer, "layer 1" to select it. Then click the channels palette.
2

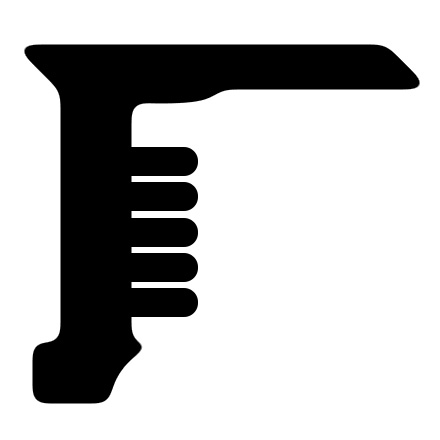
Create a new channel and fill the selection in white. Deselect (CTRL+D) now go to Filter>Blur>Gaussian Blur. Blur it nice and fat I used a setting of 7.4.
Now go to Image>Adjust>Levels and drag the two outer triangles into the centre so the interface shape begins to look nice and smooth (level settings 127, 1, 141). Once you are happy click OK. Now you need to HOLD CTRL and click on the channel "Alpha 1" to select it.
3
Now go back to the layers palette create a new layer and fill the selection in with your desired colour.
4
Once we add our buttons we are done, our interface is now ready to be bevelled, rusted, etc. etc. just experiment by creating different shapes then you will get different results each time. Enjoy :)
This tutorial was brought to you by Robouk, please post any questions in the forum. Thank you.