Hazy Landscape
A walkthrough on digitally painting a Landscape...
1
Quick note, click images to view it in a larger size, you'll need to do this to see extra detail.
Advanced Walk through
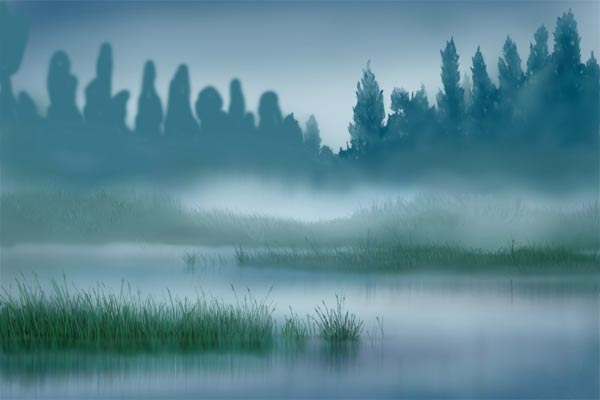
Here is a walk through of how I made the hazy landscape painting shown below. I hope it proves to be helpful for someone! Click any of the thumbnail images for a larger view.
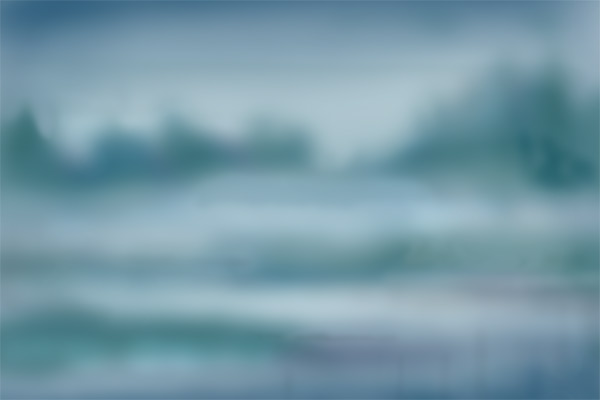
Firstly I splotched in areas of colour with a soft brush to determine placement:
Advanced Walk through
Here is a walk through of how I made the hazy landscape painting shown below. I hope it proves to be helpful for someone! Click any of the thumbnail images for a larger view.
Firstly I splotched in areas of colour with a soft brush to determine placement:
2

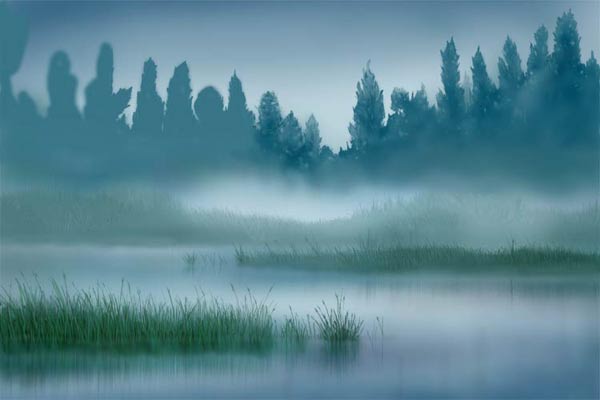
Then I went in with a hard edged brush to add details. Basically I just swish-swish-swished a bunch of various green lines over each other.
3
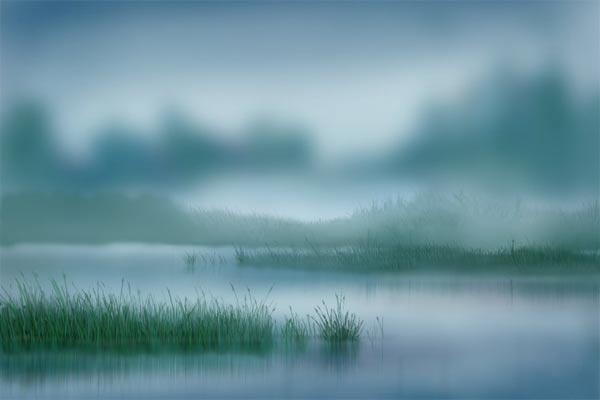
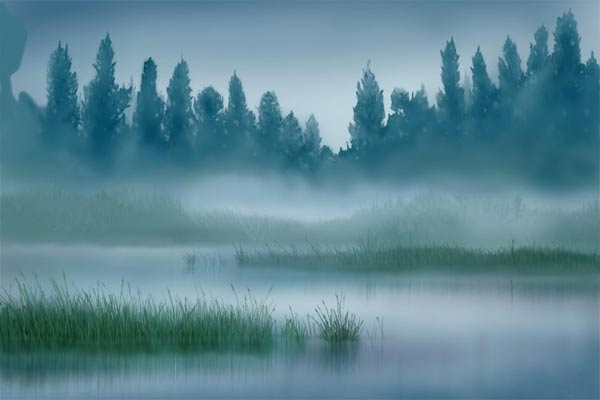
Next I moved onto the middle ground area to add detail. Keeping the colours fairly flat and hazy.
4
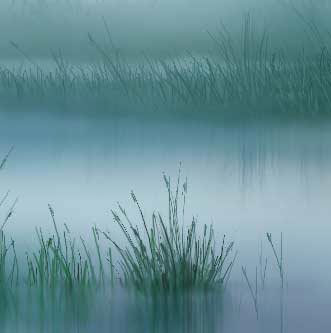
The next step is to add smaller details and tweak reflections.
5
6
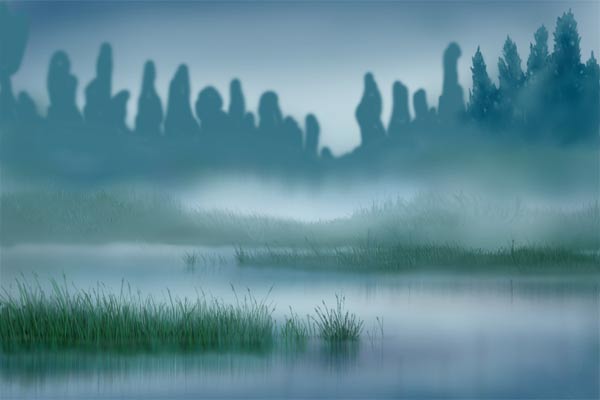
Working my way down the tree line. =)
7
This shot shows a little better how I cleaned up the shapes before adding in the highlights and shadows.
8
Almost there!
9
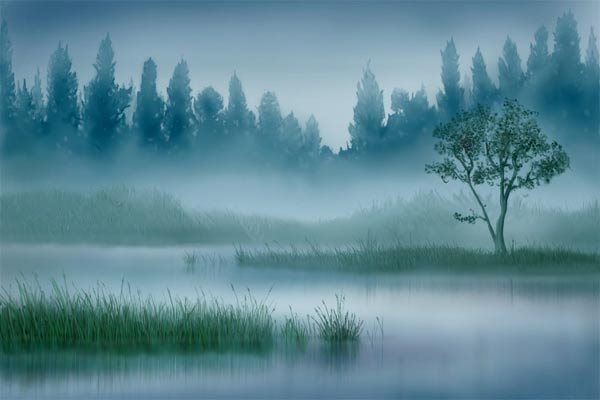
Paint in the tree. The leaves are basically a bunch of overlapping speckly brushes in various colours:
10

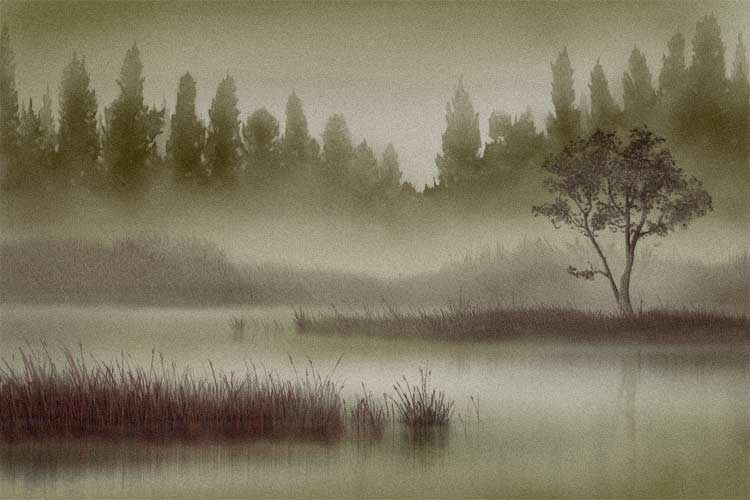
Finished - Thickened the haze, reduced the saturation a tad and tweaked the reflections some more.
11
And for fun here's the tweaked sepia style version I did.
This tutorial was by Katherine Dinger, brought to you by Robouk, please post any questions in the forum. Thank you.