Gradient buttons
Create some of those small gradient buttons that are popping up everywhere...
1
These Gradient buttons are becoming pretty popular these days (well they were until I just told everyone how to do them) And they look pretty slick. Want to learn how to make them? Sure you do.
Start by creating a new image 500x500px with a white background, as its for the web a resolution of 72 px/inch is fine.
Next up, Click the Rounded Rectangle tool:
On the keyboard press X then D to reset the colours.
Now, in the options palette at the top, enter 3 where it says Radius:
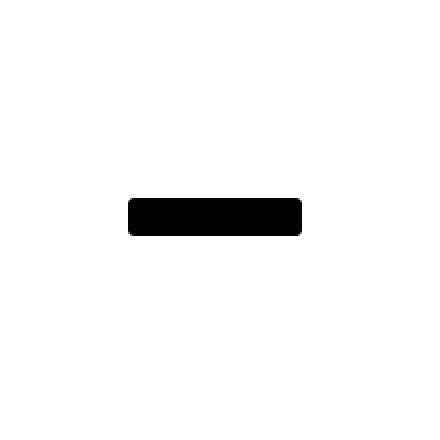
Now just draw your button shape, draw it roughly the same shape as mine opposite.
One your happy, go to Image>Adjust>Invert This will make it white so you wont be able to see it.
Start by creating a new image 500x500px with a white background, as its for the web a resolution of 72 px/inch is fine.
Next up, Click the Rounded Rectangle tool:
On the keyboard press X then D to reset the colours.
Now, in the options palette at the top, enter 3 where it says Radius:
Now just draw your button shape, draw it roughly the same shape as mine opposite.
One your happy, go to Image>Adjust>Invert This will make it white so you wont be able to see it.
2
Next, go to Layer>Layer Styles>Colour Overlay.
Now simply choose your colour for the button and set the blend mode to "Colour". You can change the opacity but I'm keeping mine at 100%.
Do not Click OK Just yet
Now click the tab that says Gradient Overlay.
Fill in the options: Blend mode normal, opacity 56, gradient (black [left] to white), style linear, angle 90 and scale 150.
Do not click OK just yet.
3
Now click the tab that says Stroke.
Settings: size 1, position outside, blend mode normal, opacity 100, fill type colour. For the color I have chosen a dark gray but black looks good also, it up to you.
Again, feel free to change settings as you wish.
Do not click OK yet! - *sigh*!
Settings: size 1, position outside, blend mode normal, opacity 100, fill type colour. For the color I have chosen a dark gray but black looks good also, it up to you.
Again, feel free to change settings as you wish.
Do not click OK yet! - *sigh*!
4
Last but not least, click the tab that says Bevel and Emboss.
Here are the settings I used:
Structure:
Style: Inner Bevel
Technique: Smooth
Depth: 1
Direction: Up
Size: 1
Soften: 0
Shading:
Angle: 120
Altitude: 30
Highlight mode: Screen WHITE
Opacity: 75%
Shadow mode: Multiply BLACK
Opacity: 36%
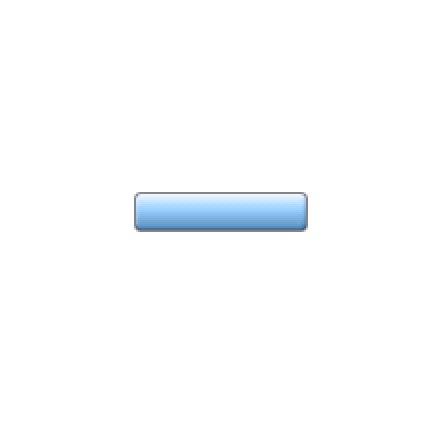
Once you have done that, you may click OK! -whey!
It should now look like mine opposite.
Here are the settings I used:
Structure:
Style: Inner Bevel
Technique: Smooth
Depth: 1
Direction: Up
Size: 1
Soften: 0
Shading:
Angle: 120
Altitude: 30
Highlight mode: Screen WHITE
Opacity: 75%
Shadow mode: Multiply BLACK
Opacity: 36%
Once you have done that, you may click OK! -whey!
It should now look like mine opposite.
5
Tip: If You go into your layer styles and click "New style" you can save all your styles that make up with button for later use.
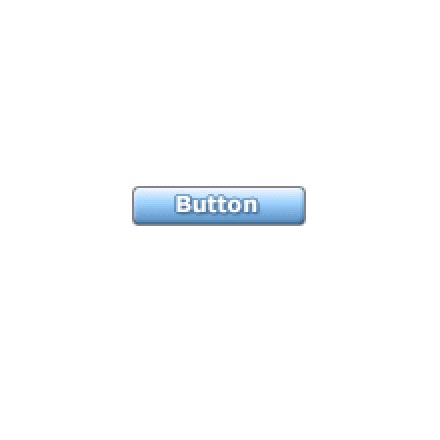
That's basically it, not lets add some text! Use the type tool, type your text in white, verdana bold Click the tick to set your text when your happy. To make the text stand out more I gave it an outer glow and a drop shadow, here are the settings I used.
Outer Glow settings: Blend mode multiply, color: #477296, opacity 78, angle 120, distance 1,spread 0, size 2.
Drop Shadow settings: Blend mode multiply, color: #477296, opacity 78, angle 120, distance 1,spread 0, size 2.
6
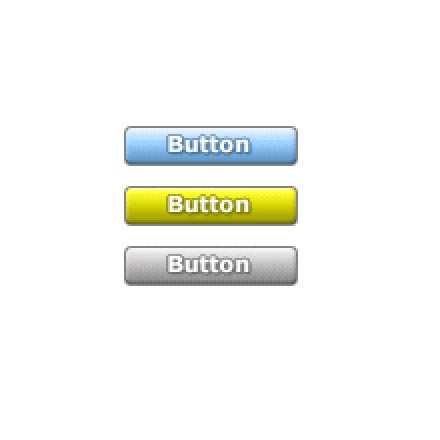
Changing the colour is easy, just click the button, go into the layer styles and change the colour you entered in "Colour Overlay". An that's basically, it Have fun. =)
Try changing the colours =)
Try changing the colours =)
This tutorial was brought to you by Robouk, please post any questions in the forum. Thank you.