Glossy buttons
Great buttons that are shiny and add colour to any site...
1
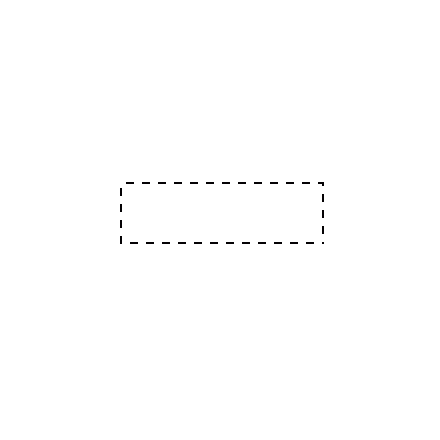
OK, start with a new image about 400x400 px with a your chosen background, (IM using white) No you can make any kind of wacky shape for your button, but for this tutorial I will show you one shape. Start by creating a new layer and using the Rectangular Marquee draw a rectangle roughly the size you want your button. See picture opposite.
2

OK now click the channels tab and create a new channel. Fill the selection in with white. You can now deselect (CTRL +D) Now go to Filter>Blur>Gaussian Blur and use a setting of about 3.5 Click OK. Next go to Image>Adjust>Levels and drag the two bottom triangles towards the center until the button looks nice and smooth (see image). Click OK when done. OK hold CTRL and click on the channel "Alpha 1" to select it. Click the Layers Tab.
Now fill your selection in with your chosen color, im using R:255 G:126 B:0 Now Deselect (CTRL+D). Now to make the button more interesting go to Edit>Transform>Perspective now drag the bottom right point inwards so that your button goes to the same shape as mine (or something similar)
Now fill your selection in with your chosen color, im using R:255 G:126 B:0 Now Deselect (CTRL+D). Now to make the button more interesting go to Edit>Transform>Perspective now drag the bottom right point inwards so that your button goes to the same shape as mine (or something similar)
3
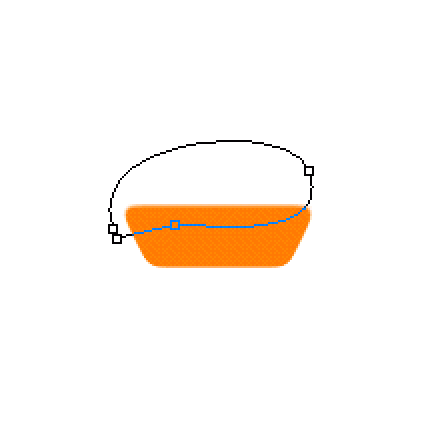
Now, To make the highlight, create a new layer. Using the Freeform pen Just draw a rough wiggle circle around the top of the shape as seen in the picture. Once you have your path, Right click and choose "Make Selection" use default settings. Then Right click again and choose "Turn off path" Now create a new layer and fill the selection in with white.
4
Next Hold CTRL and click on "Layer 1" to select it. Go to Select>Modify>Contract and enter 1. Now go to Select>Inverse. Now make sure you have "Layer 2" active and hit delete. Now hold CTRL and click on "Layer 2" to select it then hit DELETE about 4 times to completely get rid of the white. Do Not lose the selection.
5

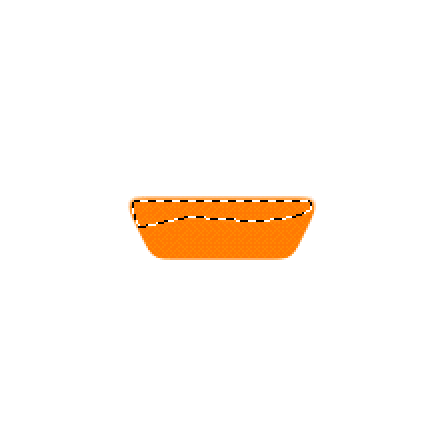
Now press D then X to reset the colors. Using the Linear Gradient in the options tab change the gradient to "Foreground to transparent" and drag the gradient from the top of the selection to the bottom you should now get a highlight effect.
6
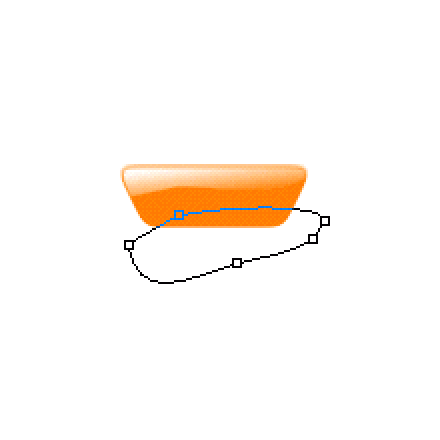
OK so you have the highlight now you need the dark shadow. So do the same as before, using the freeform pen draw a wiggly line across the bottom of your button ( see picture) now again, right click and choose "Make selection" use default settings and the right click and choose "Turn off path" now create a new layer, Don't lose that selection.
7
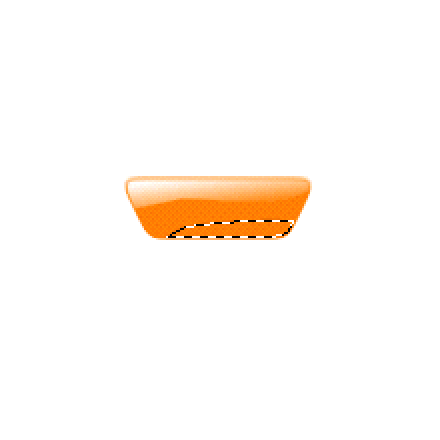
This time fill the selection in with black On a new layer. Hold CTRL and click on "Layer1" to select it. Go to Select>Modify>Contract and enter 1 then go to Select>Inverse and with "layer 3" active in the layers palette hit delete. Now hold CTRL and click on "layer 3" to select it, hit DELETE about 4 times to remove all the black, Do NOT lose the selection.
8

Now set black as your foreground color, and using a the linear gradient at foreground to transparent still, drag from the bottom of the selection to the top. Then Deselect (CTRL +D) now you may want to blue the black shadow a little Filter>Blur>Gaussion Blur, I used a setting of 3.0, then I lowered the layers opacity down to 42. Now you are done with the button add a Drop Shadow to "layer 1" Layer>Effects>Drop shadow.
9

OK when you add text make it the same color as the button but a lot darker. To make it look insert duplicate the text layer by dragging it to the create a new layer. Drag it below the first text layer and make the duplicate text the color White. Using the move tool move it up a pixel and left a pixel, Set the layer blend mode to "Color Dodge" go to Layer>Type>Render Layer and Filter>Blur>Guassion Blur I used 1.0 then turn the bottom text layers opacity down to about 50 and your done.
10
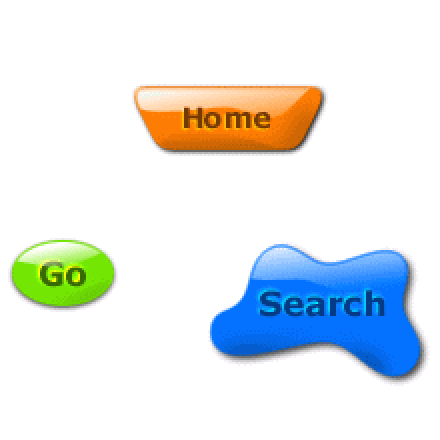
Don't stop there, make some whacky shapes and see the cool effects you get. Just experiment and see what you can make. If yours didn't work or was too hard, post your problems in the forum.
This tutorial was brought to you by Robouk, please post any questions in the forum. Thank you.